
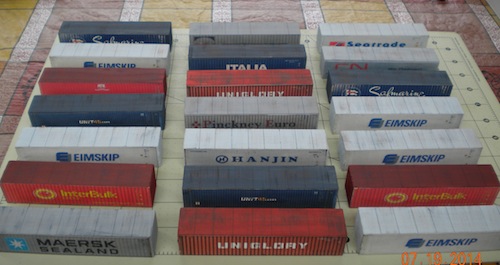
Quinn Intermodal Yard
This article describes how to mass-produce lots of shipping containers for cheap. These are not great, detailed models; but intended for scenery where you need lots of containers to stack around an intermodal yard or industrial park. These are made by gluing images onto solid wooden blocks. This has several advantages over the fold-up cardstock type found on the internet:
- Dimensionally solid: they will not warp or cave in like fold-up models.
- Consistent dimensions: they can be stacked in nice even stacks. Real containers are generally stacked up to a maximum of seven high.
- Weight: An HO scale 40' container comes in at 1.5 ounces. This is handy if running them on flat cars, which are typically underweight anyway.
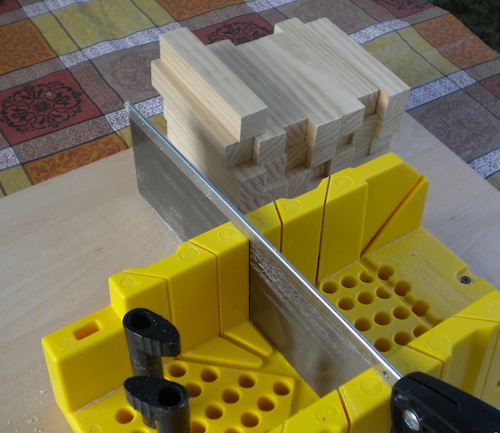
Cut wood molding to length
Step 2. Obtain images to use for the sides. Go to this page. Select the ones you like and save them to your computer. Using a drawing application, copy/paste the photos onto a page and resize until they are slightly larger than your container sides so you can trim to fit if needed. You can fit a bunch onto one sheet of paper. I print on ivory resume paper, which is a nice off-white and thick enough to handle the glue to be used.
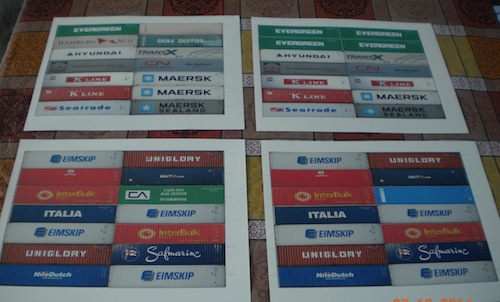
Copy/paste images on resume paper
Step 3. Cut the sides apart using a hobby knife.
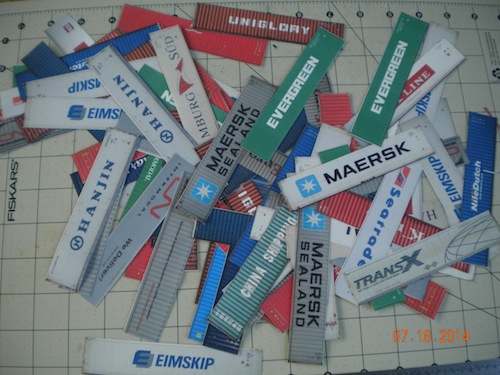
Cut container sides apart
Step 4. Mix acrylic paint to match the side color, and paint the top and ends of the wood block to match. Overlap the color onto the sides too, so any gaps at the edge of your image won't show. Ink roof panel lines across the top. I use a 4' interval. You can stack a bunch of them up and line across all of them at once. Weather the tops if desired. I like a slight rust along the roof panel lines.
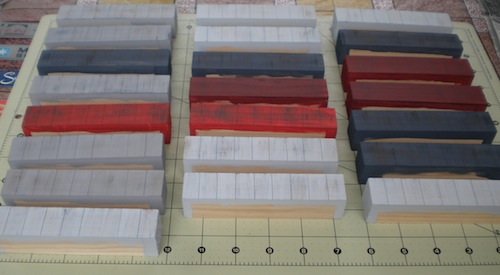
Paint tops and ends
Step 5. Test-fit the images in place and trim if necessary. Glue the images onto the sides using 50/50 white glue/water. If you want the ends covered, you can cut up portions of the sides and glue them on the ends.
Glue images onto sides
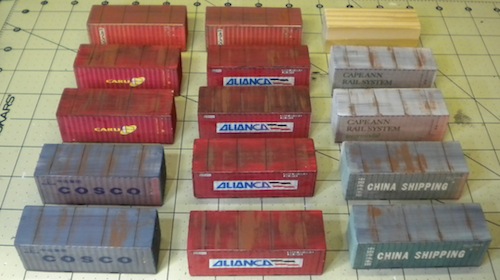
20' containers made in same manner
Additional resources: All About Shipping Containers • Specifications and dimensions
Home • Revised June 24 2015